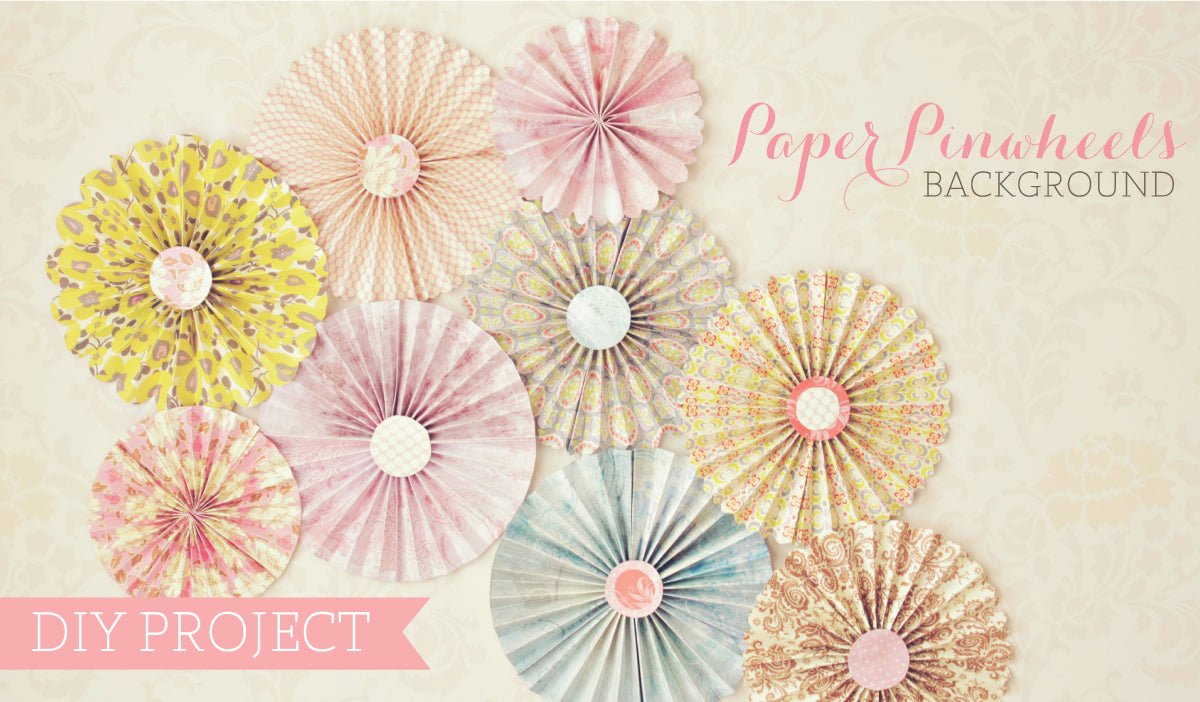
DIY Project - Pinwheels Background
One of the purposes of this blog is to create valuable material for photographers, specially for all who love to capture a sweet newborn, kids, and the togetherness of a family. So I will be doing DIY projects for all of you, hope it will be helpful and a source of new ideas for your portraits and photo projects.
As a photographer I know that every sessions is special and unique, and you have to be refreshing your studio props, new hats, new blankets, new chairs, new backgrounds, new colors... well I consider special to share this way to do an easy and chic background for your studio. It's easy, cheap, and the final scene will look just amazing
For this project you will need:
- a round object to mark a circle
- a pencil
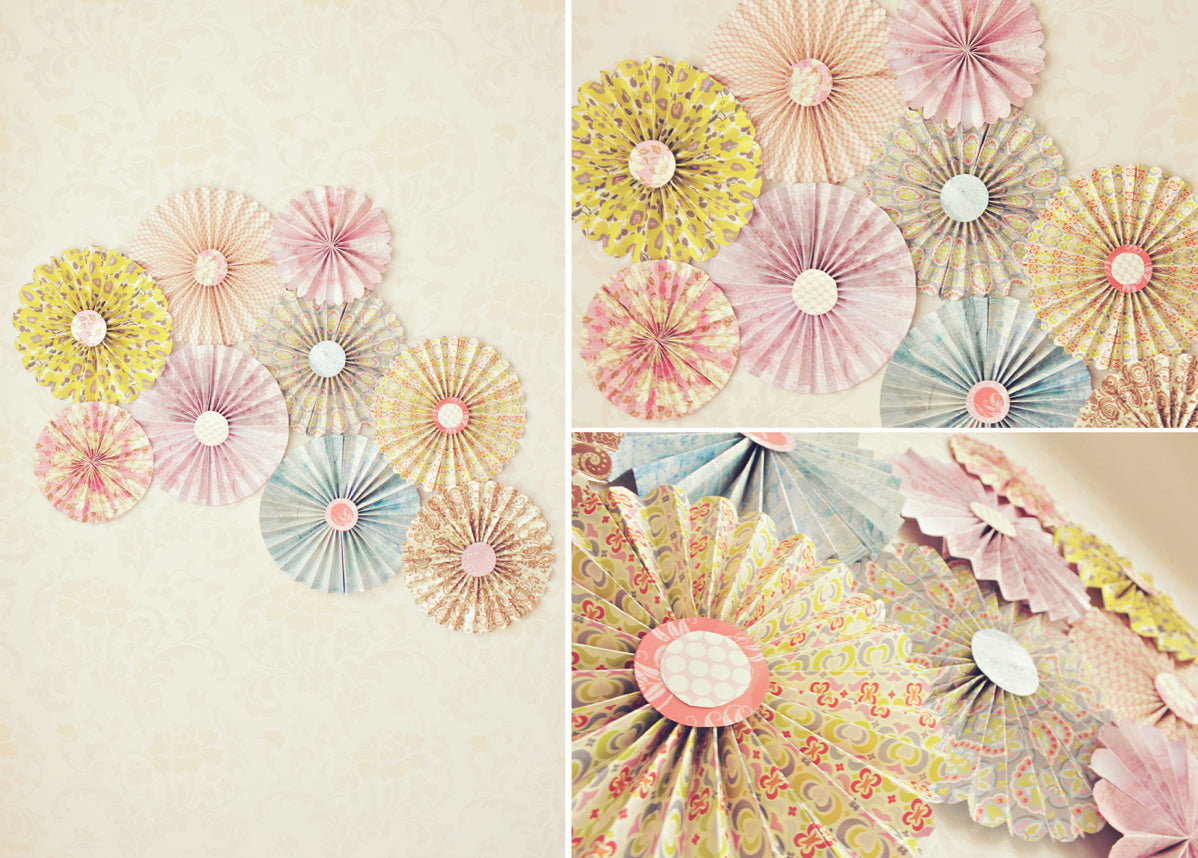
1. Do 1/2-inchwide accordion folds in the scrapbook paper until you get a fan folding shape. Two fans will form one pinwheel.
2. Using the scissors, trim ends of the paper into rounded or pointy shapes.
3. Fold the strip or paper in half and secure it with glue. This will form the half of the pinwheel. Repeat the process until you get 2 then glue them.
Repeat as many times as you like ;) combine colors, papers and textures to get a beautiful collage of pinwheels. You can do it even with white or painted paper for a wedding or couple photo shoot, or in green, red and gold for Christmas pictures, it's just about creativity! :)
Once you are ready place them in a wood base, or in the wall with mounting tape, and voila!! A beautiful background for a long time!
I had a lot of fun making this pinwheels, try it you won't regret!
Hope you have enjoyed this tutorial! Don't forget to share your love and pin it! ;)
abrar-s on
Love dese papar fans,it makes to look the walls more elegant dan d previous…..
Teresa on
How did you get these to adhere to the wall or whatever you were putting them on?
Courtney on
I love this idea! Where did you get your paper? I love the patterns :)
Amber Stokes on
I made paper fans for the last few days, i got a book of scrapbook paper for 5 dollars and it had 150 papers in it, and i have 6 fans made so far, it is a good idea for sure, so what if you want to use this as a background you bring from place to place, what would your suggestion be for hanging them? maybe double sided tape would work
Paula Fankhauser on
you can also go to places like Home Depot and Lowes and ask for the out of date Wallpaper sample books. If no one has them spoken for they usually will just give them to you. Paper is a little harder to fold but really neat paper.
Amy Hoogstad on
Great tutorial, thank you! Pinned it :)
audra on
ahhhhhmazing! thank you. love,love.love
Lucy Sandeen on
Wonderful tutorial! Thank you for sharing how you made this. I was just yesterday wondering how hard it would be to make this look happen. I will be trying it out! :)
Kathi (KatMahoney Photography) on
This is wonderful! Just this morning (not kidding) I almost purchased a $50 backdrop with colorful fans just like this! I was in love with it, but after much internal debate decided $50 was just too much. Guess who will be making some paper fans this weekend?? Thank you, great tutorial.
Erika on
Thanks!
April (Trio Photography and Design) on
Love this! Thank you so much for sharing! I am very crafty, but usually need prompting to start anything :) I am a natural light photographer and 99% of my sessions are outside, but my daughter will love this over her bed!
Lori Kemp Roop (Lori Cay Photography) on
I love these! Great job!
I have found that when working with this kind of project. A hot glue gun gets quicker and more permanent adhereing results.
Casey on
Love it! Congratulations on your new blog. I look forward to seeing more! :)
lisaHystek on
Thanks for the share!
Sheila Kurtz on
Thank you so so much.I am wanting to revamp my studio but cant afford a lot of props and backgrounds for babies.This is so perfect!Thanks for sharing..I will definitely do this..soon